![]()
The Studio Archives
Strip Scrap Quilt
Hello! Here we are at the beginning of another strip scrap quilt. I've made four full sized quilts of this style, as well as two snuggle-sized ones and a couple small hangings. I enjoy them a great deal, because they're very spontaneous. I'm certainly making decisions while I'm sewing the scraps together, but mostly I don't notice it, and I find it lots of fun to simply work without thinking.
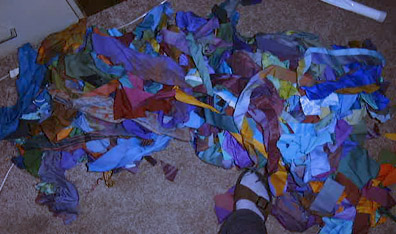
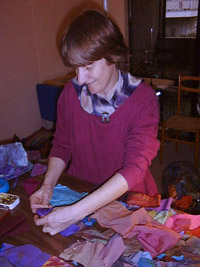
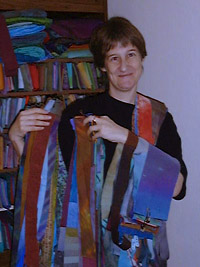
First I locate my scraps. In this case, I brought all my current scraps to California, where I've just moved, and you can see them in the picture above, with my foot to give you some perspective. I then sew anything I can construe as a strip end-to-end with other strips of the same width. Below, on the left, you can see me organizing and pinning strips so I can sew them. Many of my strips change thickness in the course of their stripdom, so when I'm finished with this step, I have long (and I mean 30 yards or more!) series of strips sewn end-to-end, which vary in width over that 30 yards. Then I iron the series, to make the seams flat and everything tidy. On the right is a picture of me holding over a hundred yards of sewn-together (oh so orderly!) strips. This might be barely enough to make a quilt, but I'll keep going until I've pieced all the scraps I brought with me to California.
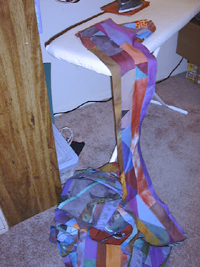
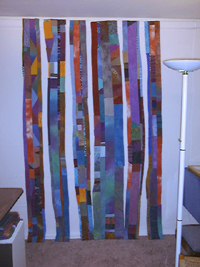
On the left above, you see one of the 4-strips-together strips being ironed (the combined fabric is at least 50 yards long), and on the right are some 4-strips on the wall after I've cut them to length. When I have all of my 4-strip yardage cut, I'm ready to actively make aesthetic choices up on the wall. Below is a picture of most of a previous Strip Scrap quilt.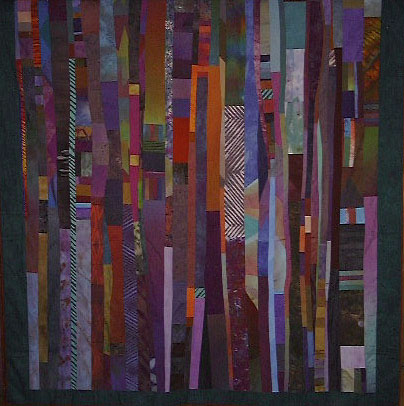
The picture above is an image of about two-thirds of my most recent strip scrap quilt, From Above.
Would you like to see my Vermont studio?
Would you like to follow the progression back?
I have archived my previous studio tour pages.
home | store | studio & archives | gallery | fabrics | more information
|
|
© 2006 Colorquilts. All rights reserved.